

Hey there, audio enthusiasts! As a speaker supplier, I've seen firsthand how a great set of floor - standing speakers can transform your listening experience. Whether you're a music lover, a movie buff, or just someone who wants to enjoy high - quality sound at home, installing floor - standing speakers is a fantastic upgrade. In this blog, I'll walk you through the process step by step.
Step 1: Choose the Right Location
The first thing you need to do is pick the perfect spot for your floor - standing speakers. You want to place them in a room where you'll be spending a lot of time listening. It could be your living room, home theater, or even a dedicated music room.
When choosing the location, consider the acoustics of the room. Avoid placing the speakers too close to walls or corners, as this can cause unwanted echoes and resonances. A good rule of thumb is to leave at least a few feet of space between the speakers and the nearest walls. Also, make sure the speakers are at ear level when you're sitting down. This will help you get the best sound quality.
Step 2: Unbox and Inspect Your Speakers
Once you've found the right location, it's time to unbox your speakers. Carefully remove the speakers from the box and check for any damage. Look for scratches, dents, or loose parts. If you notice any issues, contact us right away. As a speaker supplier, we stand behind our products and will do our best to resolve any problems.
After inspecting the speakers, take a look at the included accessories. You should have speaker cables, stands (if they're not built - in), and maybe some mounting hardware. Make sure you have everything you need before you start the installation.
Step 3: Prepare the Area
Before you place the speakers in their final position, you need to prepare the area. Clean the floor where the speakers will sit to make sure there's no dust or debris. If you're using speaker stands, assemble them according to the instructions. Make sure the stands are stable and level.
If you're mounting the speakers on the wall, you'll need to mark the spots where the brackets will go. Use a level to make sure the marks are straight. Then, drill holes in the wall and insert wall anchors if necessary.
Step 4: Connect the Speakers
Now it's time to connect the speakers to your audio source. You'll need to use speaker cables for this. First, identify the positive and negative terminals on both the speakers and the amplifier or receiver. The positive terminal is usually marked with a plus sign (+), and the negative terminal is marked with a minus sign (-).
Connect one end of the speaker cable to the positive terminal on the speaker and the other end to the positive terminal on the amplifier. Do the same for the negative terminals. Make sure the connections are tight to avoid any signal loss.
If you're using a surround sound system, you'll need to connect all the speakers in the correct order. Usually, the front left and right speakers are connected to the corresponding channels on the amplifier, and the center, rear, and subwoofer speakers are connected as well. Refer to the user manual of your audio system for detailed instructions.
Step 5: Position the Speakers
Once the speakers are connected, it's time to position them in the room. Start by placing the speakers in the general area you've chosen. Then, adjust their position based on the sound quality. You can move them closer or farther apart, and angle them towards your listening position.
To get the best stereo image, the speakers should form an equilateral triangle with your listening position. This means that the distance between the two speakers and the distance from each speaker to your listening position should be the same.
Step 6: Test the Speakers
After positioning the speakers, it's time to test them. Turn on your audio source and play some music or a movie. Listen carefully to the sound quality. Pay attention to the clarity, balance, and depth of the sound. If you notice any issues, such as a lack of bass or a distorted sound, you may need to adjust the speaker position or the settings on your amplifier.
You can also use a test tone generator to check the frequency response of the speakers. This will help you identify any problems with the speakers or the audio system.
Step 7: Fine - Tune the Sound
Once you're satisfied with the basic sound quality, you can fine - tune the sound. Most amplifiers and receivers have tone controls, such as bass, treble, and balance. You can adjust these controls to suit your personal preferences.
Some audio systems also have room correction technology. This technology analyzes the acoustics of the room and adjusts the sound output to compensate for any issues. If your system has this feature, run the room correction process to get the best possible sound.
Additional Speaker Options
In addition to floor - standing speakers, we also offer a variety of other speakers to meet your needs. For outdoor use, check out our Public Address System All Weather Speakers. These speakers are designed to withstand the elements and provide great sound in outdoor settings.
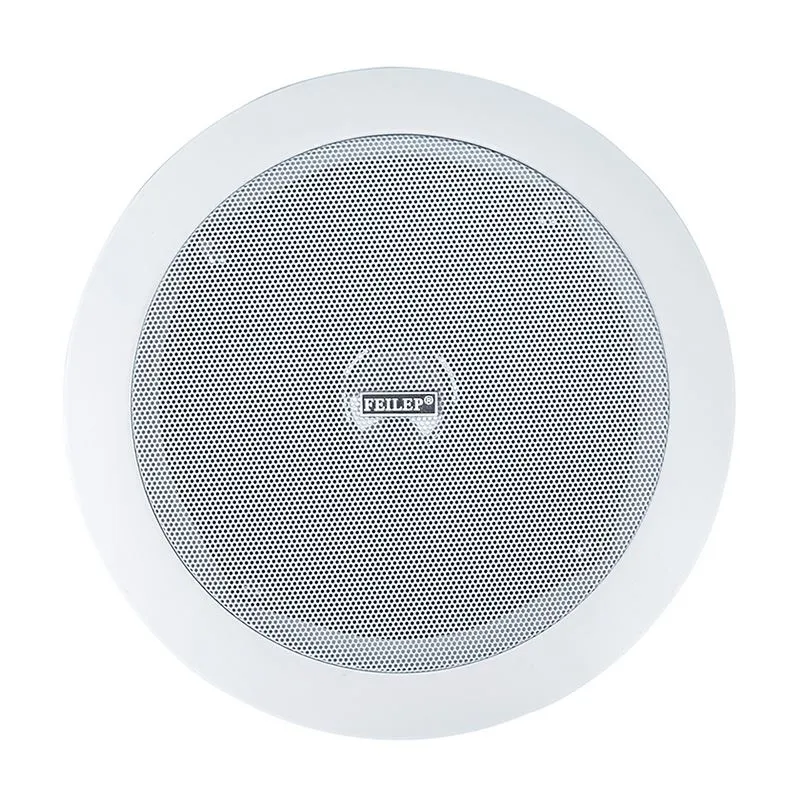
If you're looking for speakers for background music in your home, our Background Music In Ceiling in Wall Speakers are a great choice. They're discreet and can be easily installed in your ceiling or wall.
And if you need a specific size of ceiling speaker, our 6.5 - inch Ceiling Speaker offers excellent sound quality and a compact design.

Contact Us for Purchase and Consultation
If you have any questions about installing floor - standing speakers or are interested in purchasing speakers from us, don't hesitate to reach out. As a speaker supplier, we're here to help you make the best choice for your audio needs. Whether you're a beginner or an experienced audiophile, we can provide you with the advice and support you need.
So, what are you waiting for? Upgrade your audio system today with our high - quality speakers!
References
- "Speaker Installation Guide" - General audio equipment manual knowledge
- "Acoustics for Dummies" - Basic understanding of room acoustics